The free pattern for today is a stretchy crochet headband with flower for Baby Girls, or for those of us still little girls in our heart. I think these headbands would look nice for bridesmaids too.:D
I have also included a short tutorial on adding a tulle or lace 'nest' for the flower and a wee bit of beading. I am a beading FREAK, but I promise not to go overboard on you. ;)
The secret to a stretchy crochet headband is to NOT use the standard chain as the beginning of your piece. Use the chainless half double crochet foundation [i]because it stretches![/i] It works great on sock tops too, but I digress. i will not include a tutorial on the chainless hdc foundation because there are too many fabulous ones out there already. I recommend teresa's (Art of Crochet) video tutorial found [url=http://youtu.be/AEBR6SCt8IA]HERE[/url]
Begin by measuring the head on the intended owner, and perform your chainless hdc foundation to a length 1 1/2 inches shorter than the head measurement. You can now do either of two things:
For continuous headband
1) Slip stitch into beginning hdc being careful not to twist your headband. Then you will chain 3, skip a stitch and slip stitch in next stitch all the way across your band and joining in the first slip stitch. You can then break off and join into the opposite side of the band, or slip stitch down (be sneaky ;)) and begin your ch3 picots on that side in the same manner as before. (ch3, skip one stitch, slip stitch in next)
For a fastened headband
2) OR, you can ch 3, and slip stitch into bottom of that last hdc you just made. then you (ch3, skip a stitch, slip stitch in next stitch) all the way across to other end, ch 3 and slip stitch in the first hdc of opposite side, and continue with your picot pattern across, ending with slip stitch into first ch of the round. This will result in a ch3 at each end of your headband. You can then attach ribbon or chains to each ch 3 side for tying, or you can add a button and use one of the ch3 as the loop. Tada!
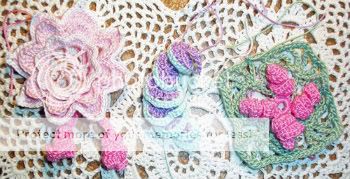
Simple flower:
1) start with the magic circle (or whatever you use as a center starting point) and (chain 3, 3dc, chain3, slip stitch into circle) 5 times. Join and break off. Tada!
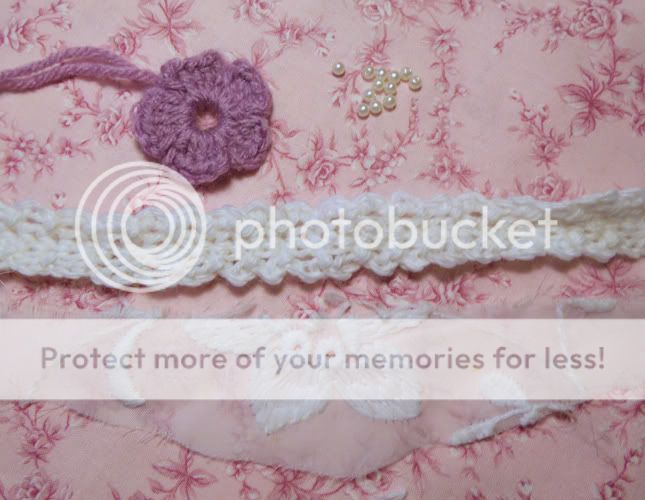
We are ready to play now! Get your beads (I used pearls), some lace, tulle or crinoline scraps, needle and thread, or glue (if needles and thread terrify you)
I cut a piece of embroidered lace about as long as my headband, 2" width in the middle sloping off to points at each end. (see below) this is a STRESS FREE project, so the raggedier your lace is the better!
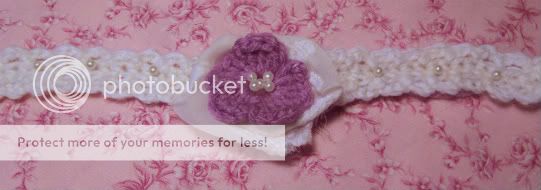
Then I pinned/sewed/glued my flower to the headband, and took my raggedy lace and twisted it from each end then tucked it around the flower. No rocket science to it.... raggedy is cool! :D
I continued to twist then tie the lace ends when the mood stuck me. I looped the ends round and round the nest until I felt good about it and then pinned/sewed/glued the tulle nest in place.
I decided to add some pearls because I ADORE them on feminine and girly stuff.... a few in the center and a sprinkle down each side of your flower. Woot! Isn't it fast, simple and lovely?????
And it ready to be worn!
This headband pattern looks great with those gorgeous singed fabric flowers everyone is excited about. I hope you enjoy this project! -Copper